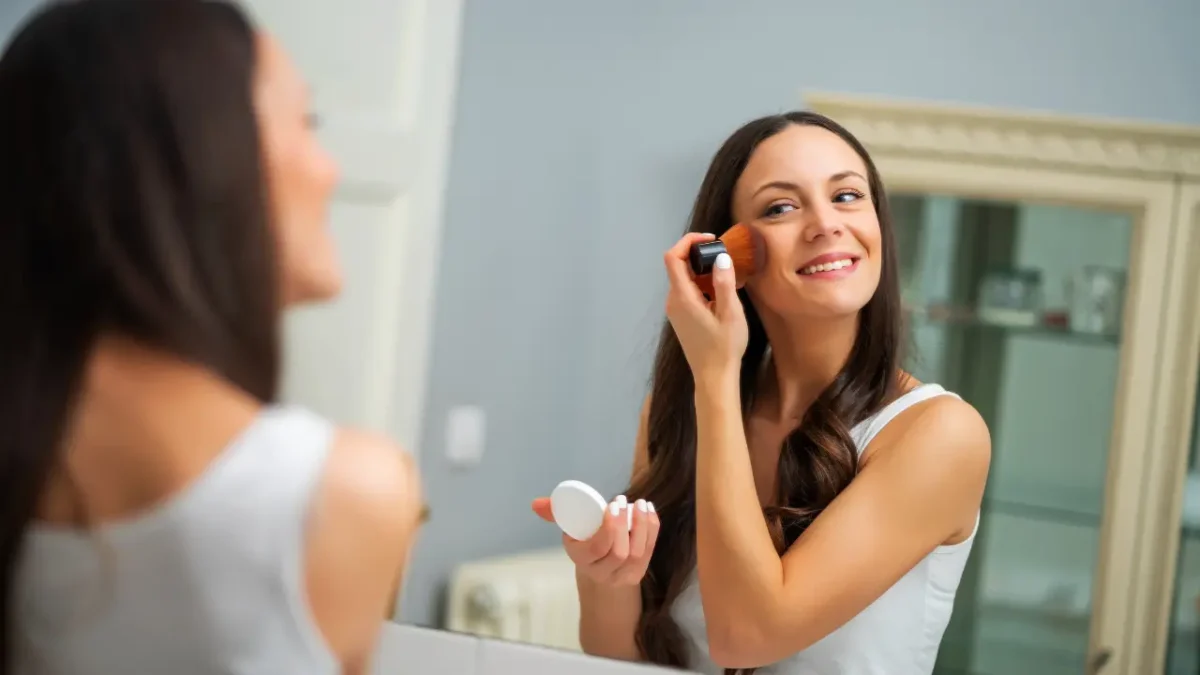
Hey there, beauty enthusiasts! Are you ready to take your makeup game to the next level? Today, we’re diving into the wonderful world of blush – that magical product that can instantly breathe life into your complexion and give you that coveted healthy glow. Whether you’re a makeup newbie or a seasoned pro looking to refine your technique, this guide will teach you everything you need to know about how to apply blush like a true expert.
Why Blush Matters
Before we jump into the nitty-gritty of application techniques, let’s talk about why blush is such a game-changer in your makeup routine. A well-applied blush can:
- Add a youthful, healthy flush to your cheeks
- Create dimension and structure to your face
- Complement your overall makeup look
- Enhance your natural beauty
Now that we’re on the same page about the power of blush, let’s get into the good stuff!
Choosing the Right Blush
The first step in mastering blush application is selecting the right product for your skin tone and type. Here’s a quick rundown:
Skin Tone Considerations:
- Fair skin: Opt for light pinks, peaches, or soft corals
- Medium skin: Go for warm pinks, rose, or mauve shades
- Dark skin: Rich berries, deep oranges, or bright fuchsias work beautifully
Formulation Types:
- Powder Blush: Great for oily skin, easy to blend, and build up color
- Cream Blush: Perfect for dry skin, gives a dewy finish
- Liquid Blush: Versatile, works well for all skin types, and offers a natural-looking flush
Pro tip: Don’t be afraid to experiment with different shades and formulas to find your perfect match!
Tools of the Trade
Now that you’ve got your blush picked out, let’s talk tools. The right tools can make all the difference in achieving that flawless application. Here are some options:
- Blush brush: A fluffy, angled brush is perfect for powder blushes
- Stippling brush: Great for cream and liquid formulas
- Beauty sponge: Ideal for blending cream and liquid blushes
- Your fingers: Yes, really! They work wonders for cream formulas
The Art of Application: Step-by-Step Guide

Alright, it’s showtime! Here’s how to apply blush like a pro:
- Start with a clean, moisturized face: Make sure your skin is prepped and ready for makeup.
- Apply your base: Put on your foundation and concealer as usual.
- Smile: This old trick still works! Smiling helps you locate the apples of your cheeks.
- Pick up product: Whether you’re using a brush or your fingers, start with a small amount of product. Remember, it’s easier to add more than to take it away!
- Apply to the apples of your cheeks: Gently sweep or pat the blush onto the apples of your cheeks, starting at the center and blending outward.
- Blend, blend, blend: This is the key to a natural-looking flush. Use circular motions to diffuse the color seamlessly into your skin.
- Build up color gradually: If you want a more intense look, add more product little by little.
- Check your work: Step back from the mirror and make sure both cheeks are even and the color is well-blended.
Pro Tips for Blush Application
Want to take your blush game to the next level? Try these expert tips:
- Layer different formulas: For long-lasting color, apply a cream blush first, then set it with a powder blush in a similar shade.
- Extend the blush: For a lifting effect, extend your blush slightly towards your temples.
- Consider your face shape: Adjust your blush placement to complement your face shape. For example, if you have a round face, apply blush slightly higher on the cheekbones to create the illusion of length.
- Coordinate with your lip color: Choose a blush shade that complements your lipstick for a cohesive look.
- Don’t forget to blend into your hairline: This creates a more natural, sun-kissed effect.
Common Blush Mistakes to Avoid
Even makeup pros can make mistakes sometimes. Here are some common blush faux pas to watch out for:
- Applying too much: Start with less and build up gradually.
- Choosing the wrong shade: Make sure your blush complements your skin tone.
- Skipping blending: Harsh lines are a no-go. Blend, blend, blend!
- Applying in poor lighting: Natural light is best for accurate application.
- Forgetting to set cream or liquid blush: A light dusting of translucent powder can help your blush stay put all day.
Blush for Different Occasions
Your blush application can vary depending on the occasion. Here’s a quick guide:
- Everyday look: A soft, natural flush is perfect for daily wear.
- Night out: Go a bit bolder with a more intense color or shimmery finish.
- Professional setting: Stick to subtle, matte finishes in neutral tones.
- Special events: Consider a long-wearing formula to keep you glowing all night long.
Caring for Your Blush and Tools
To keep your blush game strong, don’t forget about maintenance:
- Clean your brushes regularly to prevent bacteria buildup
- Store your blush products in a cool, dry place
- Replace your blush every 12-18 months for powder formulas, and 6-12 months for cream or liquid
Embrace Your Blush Journey
Remember, like all aspects of makeup, mastering blush application takes practice. Don’t be discouraged if you don’t get it perfect right away. Experiment with different techniques, shades, and formulas to find what works best for you. The most important thing is to have fun and embrace your unique beauty!
So, are you ready to give your cheeks that perfect pop of color? Grab your blush, and let’s get glowing! With these tips and tricks up your sleeve, you’ll be a blush pro in no time. Happy blushing, beautiful!
Also Read:
How to Befriend a Cat: A Comprehensive Guide

